
Going Green with Your Invitations
- Tabitha B.
- Feb 5, 2016
- 4 min read
Let's talk about sending your invitations through email or social media, people.
Nowadays, there are very few people on planet Earth not walking around with a computer on their person. Whether it's your phone, your tablet, or your laptop, it's rare that an hour passes us by without our getting web-ified.
And with social media sites so prevelant, our friends are nowalmost literally at our fingertips all day long. So when you are trying to decide how to invite your nearest and dearest to a soiree, there are now a lot of options available. So I've come up with a handy tutorial on sending your invitation files via the webs!
Of course, there are some situations where etiquette still recommends sending a physical invitation. For events like formal weddings, fancy parties, and important events, it's best to have your invitations printed on lovely stationery, and sent to your guests via the post office. And in my humble opinion, there are just some times where a design is so beautiful and fun, you want nothing more than to hold the physical print in your hand and admire.
But for those informal events, like backyard BBQs' and low-key birthday parties, there are several easy ways to attach or embed your invitation file to send out that fun customized design without breaking the bank on postage.
Sending Your Invitations Through
For most of us, email is a way of life. I know I keep my phone on me practically 24 hours a day to check customer emails, notes from friends, etc. So a quick and easy way to get your invitations in the hands of others (through the phones in their hands, of course!) is through email.
The best file choice for sending an invitation via email is JPG. With a JPG, you can embed the file directly into the body of the email so your friends will see the image as soon as they open the email, as a JPG is essentially a flattened picture. If you attach the file, be it PDF or JPG, they will have to find the attachment and open it in order to see your beautiful invitation.
To embed a JPG file into your email, you simply open up your email client (I'm using our business email account here - if you use a different email group, youy controls may be in a slightly different place) and click "Compose" to start a new message.

Once you have your new message open, start typing in the email addresses of your guests in the "To" line (I'm sure everyone in the world knows how to send an email but I'm nothing if not thorough, and I'm assuming that a 90 year old woman who lives in a cave somewhere in Siberia has somehow stumbled onto my blog. I'm helping a sister out, people).
Then you come up with a snappy subject line, like "I'm Getting Old!" or "Let's Party Til Our Faces Fall Off!" (feel free to use either or both of those - they're golden)

Then you get down to the actually invite-putting-on-ing. That's a very scientific term, y'all.
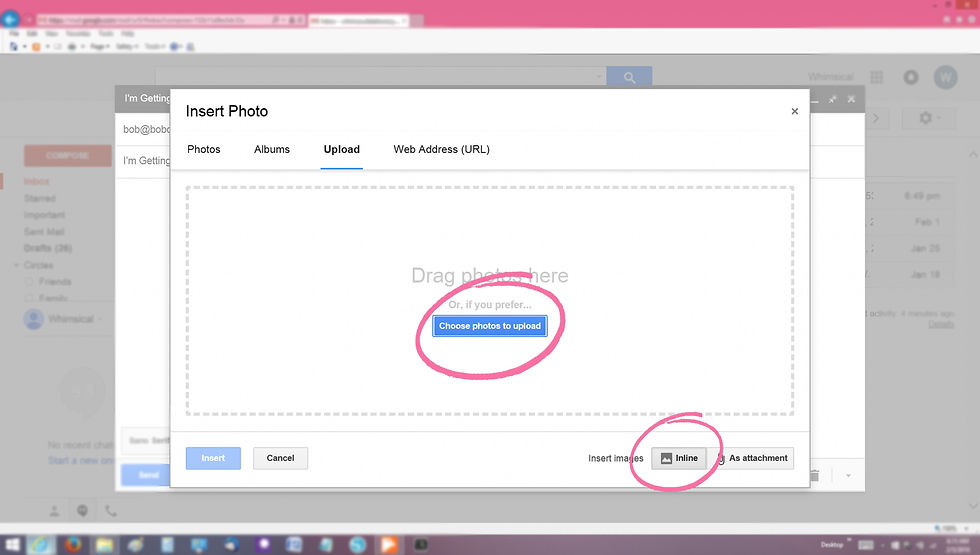
Click on the little "Insert Photo" icon (not the attachment icon)

Then a new box will pop up. From this, you want to choose "Upload", then at the bottom, before you upload, choose the switch for "Inline" (again, not attachment). Then you can click on "Choose Photos To Upload" and upload your invitation JPG file to your email.
Once your invitation file is uploaded, you can play around with the placement to get the look you prefer. I personally like the invitation Centered, so that is shows up neatly in most any display, be it phone, tablet, or laptop email client. You can choose center justification by clicking on the "Align" button. You can also change the invite display size by hovering your mouse pointer over the invite and dragging the small blue boxes at the corners to your desired size.
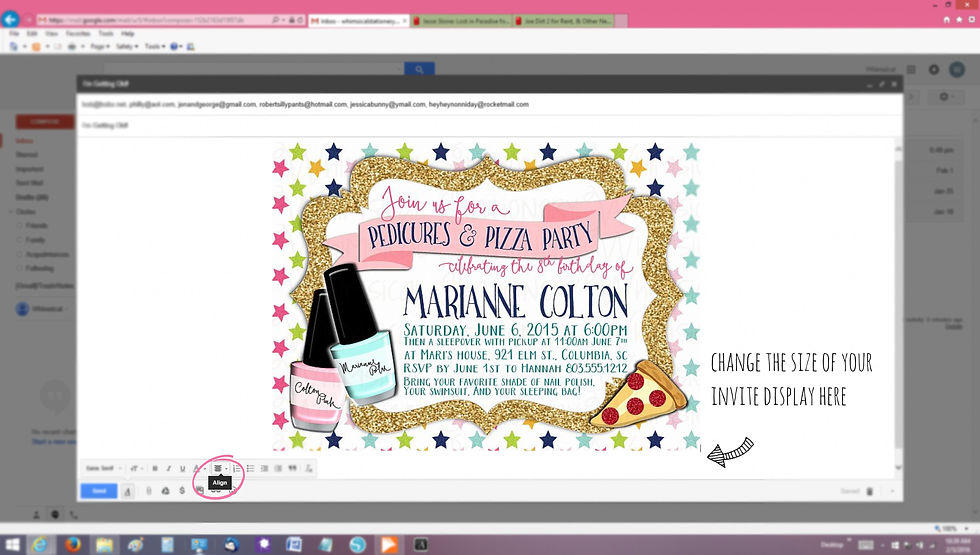
Now you're ready to send! Simply click "Send" and your guests will see this in their inbox within seconds:

Sending Your Invitations Through
Social Media
You can also simply add your invitation file to a message on a famous social media site. Simply click on the "Message" button at the top and choose "Send New Message"
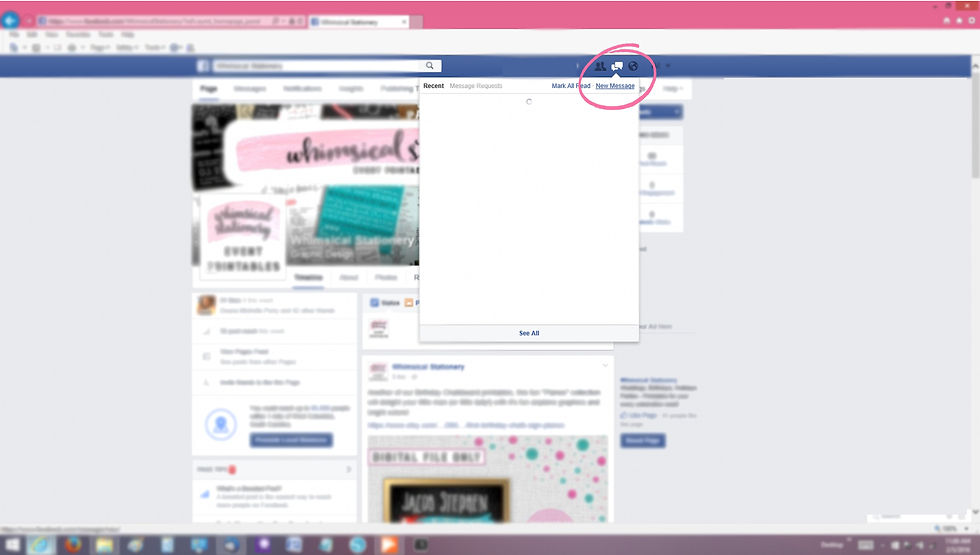
Start typing in your friends names in the "To" line and once you have your guest list completed, add the invitation file to the message. You do this by clicking on "Add Photos" at the bottom of the message.

Now find your invitation file to upload. Once the file is uploaded, simply click "Send" and your invitation is on it's way!

Your guests will receive a message that looks like this:
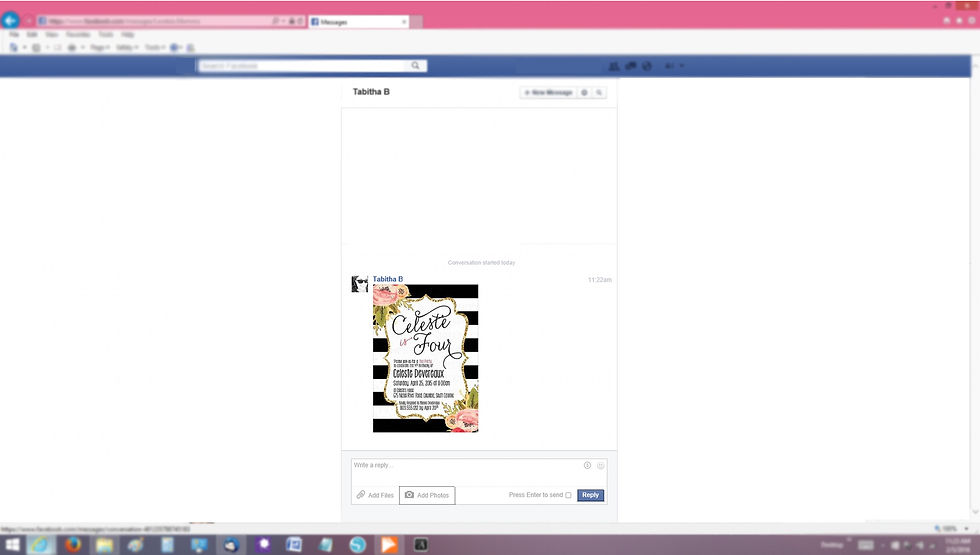
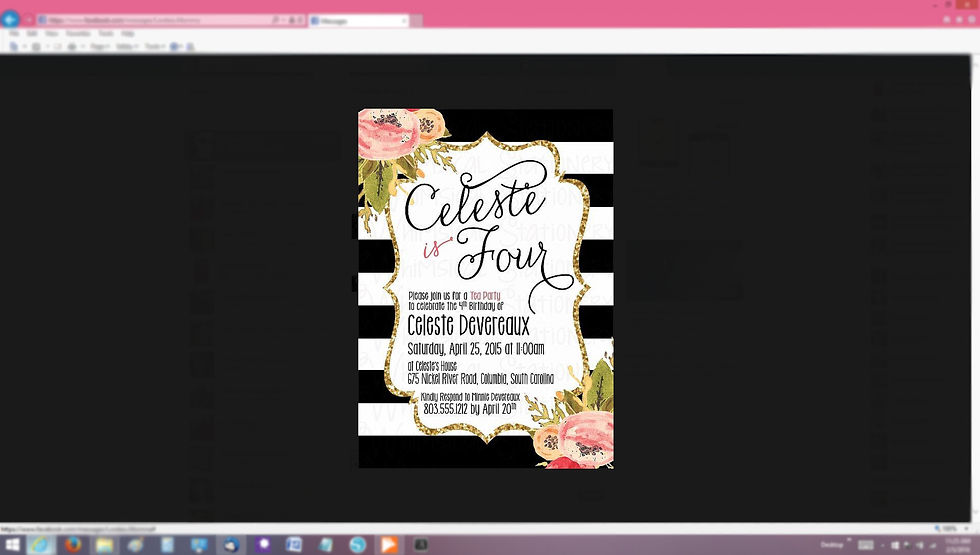
And they simply click on the little invitation to make it larger!
So there you have it! With just a couple of clicks (or swipes :) ) you can send out your beautiful invitation file instantly!
Thanks for sticking with us during this first tutorial! And as always, email us with any questions or comments!


Comentarios