
Envelopes 101: Printing Envelope Addresses at Home
- Tabitha B.
- Jul 6, 2018
- 3 min read

Well, hello all! It's been a while since I've put up a new blog - sorry about that, it's been a busy year!
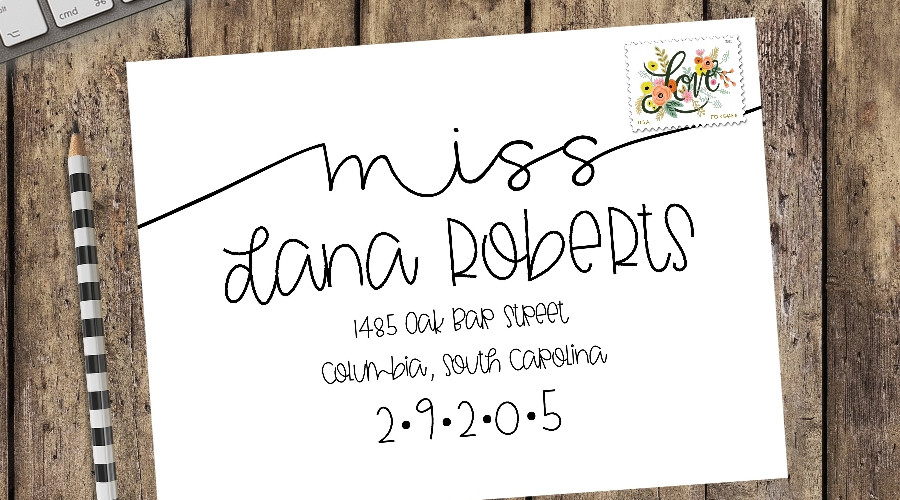
But here we are again and I'd love to walk you through printing addresses on envelopes at home, using our new Digital Calligraphy digital files!
We have recently added these fun new printables to our Etsy shop (coming to the website soon!) and wanted to create a walkthrough on how to print these awesome designs at home.
Check out our new Digital Calligraphy section HERE!


Printing at Home
The printable digital files that you can purchase in our Etsy shop (the addresses are input by us, so all you have to do is purchase, send your guest list, proof, and print! No typing for you, baby!) are sent in PDF form, making the printing process easy.
To make things easy and foolproof, I have created a test print envelope for you! This file comes in both A7 (5.25"x7.25") size and A9 (8.75"x5.75") as these are the most used sizes for wedding and other party invitations. All the invites in our shop are designed to be used with an A7 envelope, and most wedding invitation suites are designed to be placed in an A7 envelope, with the guest's informal names written on them, then placed in the larger A9 envelope, with the address on the A9.
You can find the downloads for the test print envelopes here:
A7 Envelope Test (Front Address) A7 Envelope Test (Return Address, Back)
Download these and follow the steps below to do your test print.
Step 1
Open the PDF of the test print document for the front address.

Step 2
Cut out scrap paper templates in the same size as your chosen envelope, making sure to draw the back flap, and mark the envelope front and back. Alternatively, you can use extra envelopes you have, though most people don't want to waste envelopes.

Step 3
Load the scrap paper into your printer. This will require some basic knowledge of your personal printer, as printers can be different in the way they load the paper. Most personal printers have an interior tray, or a tray at the bottom of the printer, and these printers tend to flip the paper upside down to print, so for these, your best bet is to put the scrap paper with the back side facing up (though which direction is anyone's guess, you'll have to just try it out).
My printer, however, is a back loading model, which feeds the paper straight through. So I just load my paper straight in, head down.

Step 4
Now, back to the PDF. Click on either File: Print or the little printer icon. Both can be found at the top left of your document. The "Print" dialog box will now pop up.

You will need to change the paper size, as PDFs generally default to the standard 8.5"x11" page size. To do this, you simply choose "Properties" next to your printer name at the top of the box (highlighted in blue in the picture below) and change the printer paper size to either A7 (if this is available on your model) or "Custom", then update the size to 7.25" x 5.25", landscape orientation for A7; 8.75" x 5.75", landscape orientation for A9.

When you click on and accept on your new printer settings, you'll be taken back to the print screen for your PDF. The new measurements should now show up above the little preview window on the right side of the box.

Step 5
Now simply click "Print" and watch the magic happen!

Step 6
Now to print the return address on the back!
Simply flip the paper and put it in facing the opposite direction as how you placed the paper for the front address (though pointing in the same direction).

Step 7
Now close the Front Address test file and open the Return Address test file.
Follow Steps 4-6 as above. Now you should have a correctly printed test envelope with the address on front and return address on back!

And you're done! Easy peasy. So head on over to our Etsy shop and visit the "Envelopes" section, as we are adding more to the collection every day! :)
Loves!
Tabitha B.


Comments